You have no items in your shopping cart.
Shop Categories
My Cart

Join now and save £££.
Articles From Hobby's
Compare Products
You have no items to compare.
|
||||||||||||||
|
|
||||||||||||||
|
||||||||||||||
|
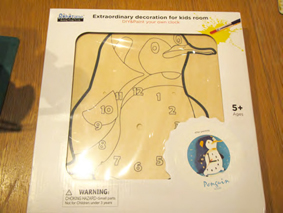
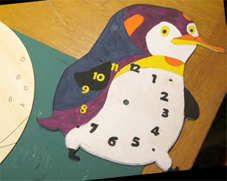
Hi everyone, my name is Zoyah & I am 7 years young ( better known as Twiglet to my Papa ) anyway I asked Papa to teach me how to tell the time on the OLD analogue style time pieces that he uses. They are kinda cool, in a funny sort of way & I wanted a proper wristwatch with the numbers on, but he insisted that I must be able to tell the time on a proper clock first. We had a look at the Hobby’s website (www.hobby.uk.com ) and found an amazing collection of clock kits & all manner of bits & bobs for making your own clock. I really loved the Penguin Clock kit AC220, because it reminded me of Happy Feet, so we placed the order & sure enough it arrived soon after, now for the really good bit, building & PAINTING. |
||||||||||||||
 |
||||||||||||||
|
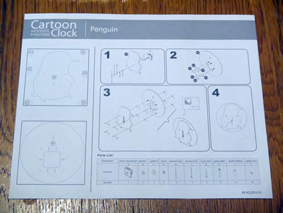
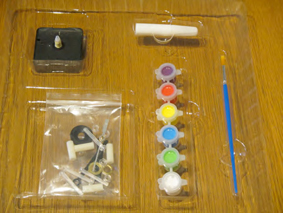
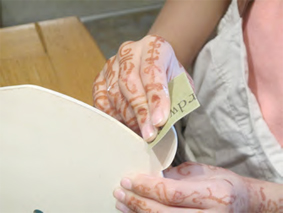
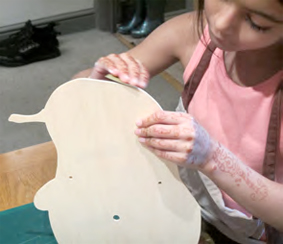
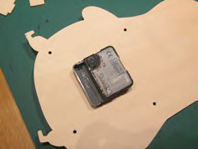
First things first, we checked all the bits were there & the all important instructions, (Papa insists on reading them) although I told him this was ezee peezy. I had to press out all the very nicely die cut wooden parts & the I had to smooth the edges with sandpaper just to make sure that he didn’t get any splinters ! I used the handle end of the paint brush to push out the tiny round bits for the fixing holes ( See, final assembly )
|
||||||||||||||
|
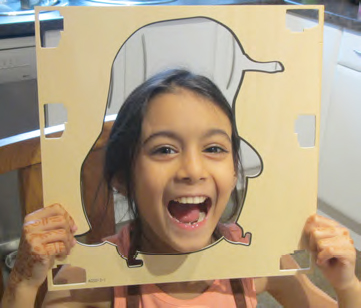
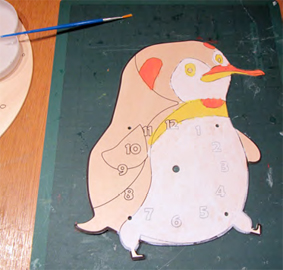
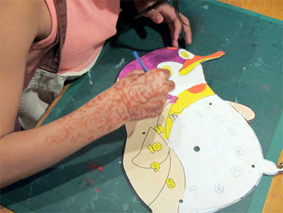
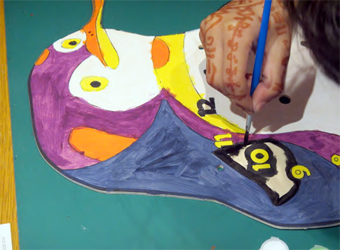
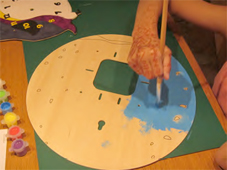
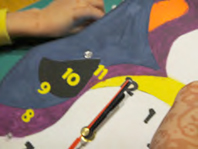
OK so now I have finished the Penguin now the background has to be completed, getting towards the finish line. (Oh, and Papa insisted that we had to do some learning how to read the CLOCK, while things were drying.) Anyway I think I have got the hours & minutes sorted out, not too sure about the seconds ( I thought that was all about deserts ! )
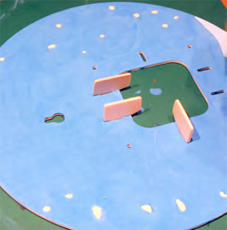
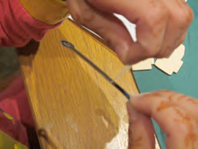
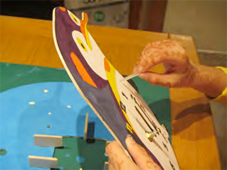
Now to put it all together, remember the tiny holes this is where they really come in useful. The wooden supports are put into place & then the clear plastic nuts, bolts & spacers are used to fix the Penguin to the background creating a 3D effect & a back with a keyhole for hanging on the wall, very neat. Just add battery, set the time, hang on the wall & admire my excellent work.
I have really enjoyed making my own clock and also now I am getting the hang of telling the time, it is even better. The only problem now is guess who also wants one, yep my little brother, so looks like Papa will have to get another one for him to build, because he is not getting mine.
|
||||||||||||||
|
Tempus fugit |


Comodo SSL
Visit our Showroom in West Norwood. For more information call us on 020 8761 4244

© 2017 Hobbys.
Web Services by Austins